Abduzeedo - graphic design | design inspiration | tutorials - |

- Diftnorm - Work of 2010
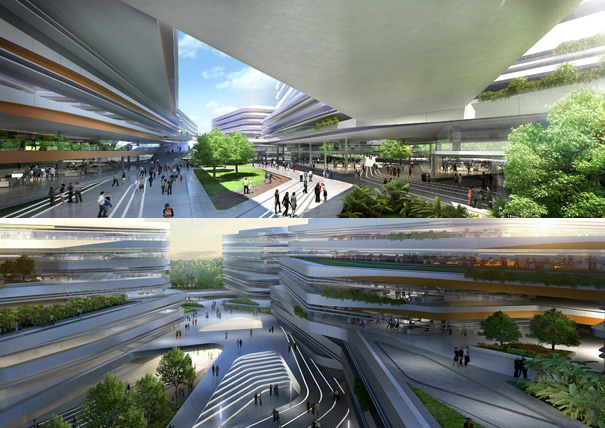
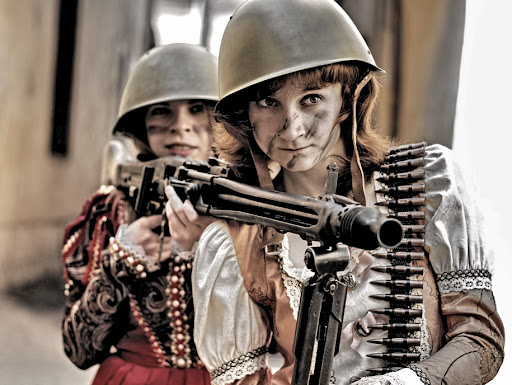
- Daily Inspiration #679
- The Perfect Office #65
- Cool Infographic Designs
- New Inspiring HDR by Trey Ratcliff
- Easy iOS Style Wallpaper in Photoshop
| Posted: 29 Nov 2010 12:19 PM PST
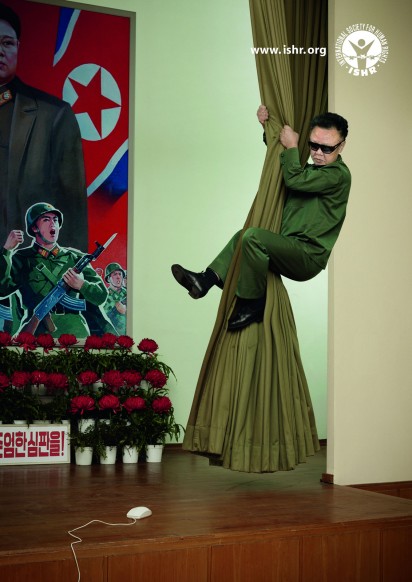
Diftnorm aka Alexander Otto is a young designer & Illustrator from Hamburg, Germany. He has been featured on Abduzeedo last year. Now we show you his work of 2010Where to find him on the web: http://diftnorm.com DIFTNORM - Work of 2010
|
| Posted: 29 Nov 2010 11:51 AM PST
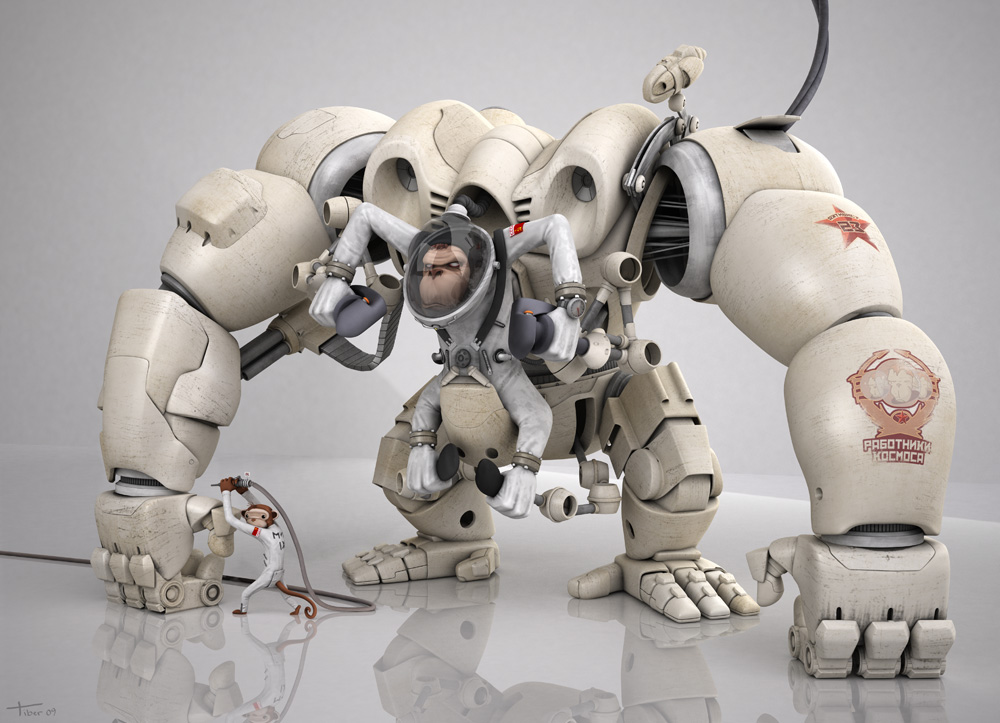
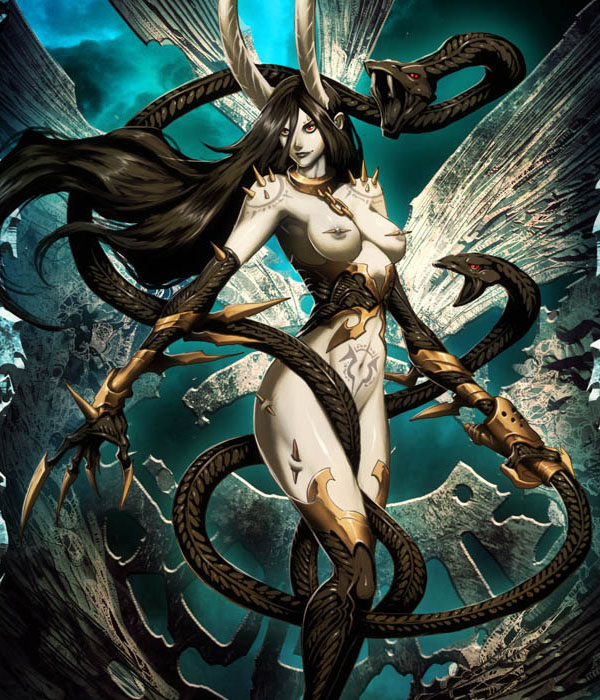
This post is part of our daily series of posts showing the most inspiring images selected by some of the Abduzeedo's writers and users. If you want to participate and share your graphic design inspiration, just send us, via email, the image with the link from where you found it, also use "Daily Inspiration" in the subject, and don't forget to send your Abduzeedo username; or via Twitter sending to http://twitter.com/abduzeedoIf possible use the HTML code: <p class="imgC"><a href="Link to the page you found the image"><img src="Link to the Image" /></a></p> Do you want to see all images from all Daily Inspirations? Check out http://daily.abduzeedo.com2D
Aaban
Anderson Tomazi
Best Bookmarks
Christopheraymond
ConiOtarie
creativebite
daniel morlock
Eduardo Lopez
Eli
Eugene Kim
Fabiano
La Boite concept, LD 120 official video from La Boite Concept on Vimeo.
Fabio
Syke Makes Life Like a Video Game! from Muhomor on Vimeo.
Gerrel Saunders
Gisele
Blood Trail from Nathan Love on Vimeo.
Gustavo Pastorino
Julien Servy
Kevin Mowrer
marcopuccini
JoKe from marcopuccini on Vimeo. Newyorkiz
Phil & Ico
rauf
saffron whitehead
Taquito143
zeemp
Via TwitterSend your suggestions via Twitter to http://twitter.com/abduzeedo using #abdz in the end of the tweet. @japi_pipol
@michaelmicasso
@pickelweasel
@theroyaltyclub
@c_Ward
@Rodrok
@alemdasideias
@marcos333
@nenuno
|
| Posted: 29 Nov 2010 10:32 AM PST
We've seen some great gadgets and equipment for designers. So many cool stuff, that we could actually assemble infinite perfect office spaces! Every week we'll assemble a perfect office, and we'd like you to help us. What equipment would the perfect office have?<!--break--> Not only gadgets and equipment, but also furniture, sound system, gaming stuff (for lunch time!). A designer is totally allowed to dream with the perfect office, and that's what we're gonna do here! Also, tell us your suggestions, or even better, you may tell us via twitter (mine and fabio's), using #abdz_ofc so we can check it. Alright? I hope you guys enjoy this brief selection. Cheers! ;) Duddha Rugh Looking for something that will really tie the room together? Throw down a Duddha Rug. This 3 x 5, Lebowski-inspired home furnishing features an image of The Dude as Buddha in the center, surrounded by circular pattern of symbols from the movie — including bowling pins, pot leaves, viking helmets, toilets, scissors, and guns — all framed by the letters "DUDE" in the four corners. (at Uncrate) Cobra Courier iPad Bag Cobra courier features a unique blend of fresh, luxurious design and ruggedly durable materials that combine to create an exciting new iPad messenger bag that offers both refined style and essential protection. (at Holy Cool) Plug Hub Keep your cords clean and concealed with Plug Hub, an under-desk cord management station that hides your power strip and cords in one discreet unit. (at 7 Gadgets) LaCie Hub4 USB 3.0 Even in their prime, USB hubs were never the sexiest part of a tech geek's shopping trip - people would typically grab the most functional (or crazy) looking option and move on to picking out their next set of "future-proof" RAM sticks. We're not convinced LaCie's really going to change all that with its Hub4, but it sure is trying hard by giving it a curvaceous exterior and those oh-so-desirable blue USB jacks. Yes, the USB 3.0 color coding is large and in charge here, highlighting a full quartet of ports for all that SuperSpeed gear you've been stashing. Of course, you'll still need at least one 3.0 connector on your computer to make the most of this USB peripheral, but if that's already accounted for, you'll just need $59.99 and the source link to get yourself connected to the future. (at Engadget) ESL Bulbs LED bulbs may be coming down in price, but they're still relatively expensive. So many people are looking for alternatives. Enter the ESL, or, Electron Stimulated Luminescence. The new bulbs, created by Vu1 Corporation, are 70 percent more efficient than traditional incandescents and last up to five times as long. They're also completely dimmable and mercury free. The ESL technology uses "accelerated electrons to stimulate phosphor to create light, making the surface of the bulb 'glow.'" The price range will also be comparable to that of CFL bulbs, at around $20 per bulb. Unfortunately we don't currently know when the ESLs will be hitting the market. (at Gearlog) Delorean Time Machine Hard Drive If you're looking for a drive to use as a Time Machine backup for your Mac, what better enclosure could you find than an actual time machine? The Delorean Time Machine Hard Drive is a 1:18 scale replica of the iconic Delorean from Back to the Future, with details like working doors and hood, a Mr. Fusion reactor, and 1950's wheels + rims, plus a 500 GB Seagate hard drive buried inside. Let's just hope this time machine doesn't fall into the wrong hands, lest your private photo collection become the property of the Internets. (at Uncrate) HP Pavilion dv7 Select Edition Core i5 And i7 Laptop The HP Pavilion dv7 Select Edition Laptop features up to 8GB of DDR3 RAM, a 17.3 inch HD display, an ATI Mobility Radeon HD 5650 1GB graphics card, and a 640GB hard drive as standard with the option to upgrade to a 1TB hard Drive. (at Geeky Gadgets) |
| Posted: 29 Nov 2010 06:55 AM PST
Infographics are really cool when they're well done, and the design makes it cool and interesting to check out the information the graphics are trying to deliver. In this selection you will see some really awesome infographics in different topics created by Rajkaml Aich. Enjoy!<!--break--> About the authorHi there! I'm Paulo Canabarro, 25 year old web designer from Brazil currently living in Providence RI, USA. I'm truly passionate about design of all kinds. Finding and sharing inspiration has become part of my life. If you have any suggestions or requests just get @ me - pvpcanabarro@gmail.com For some cool stuff make sure to Follow me on twitter! Sponsored Links:
|
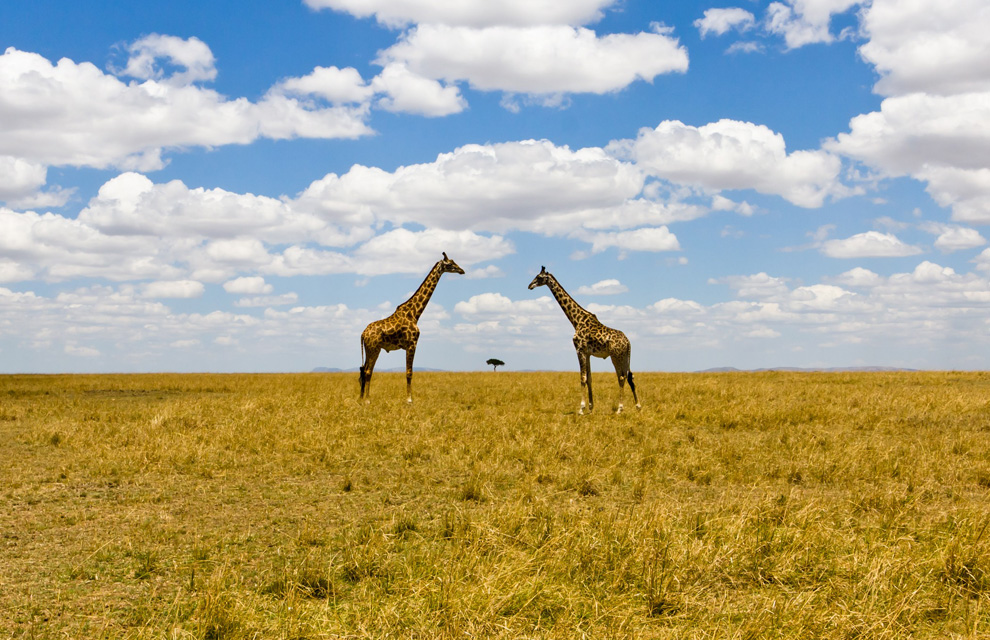
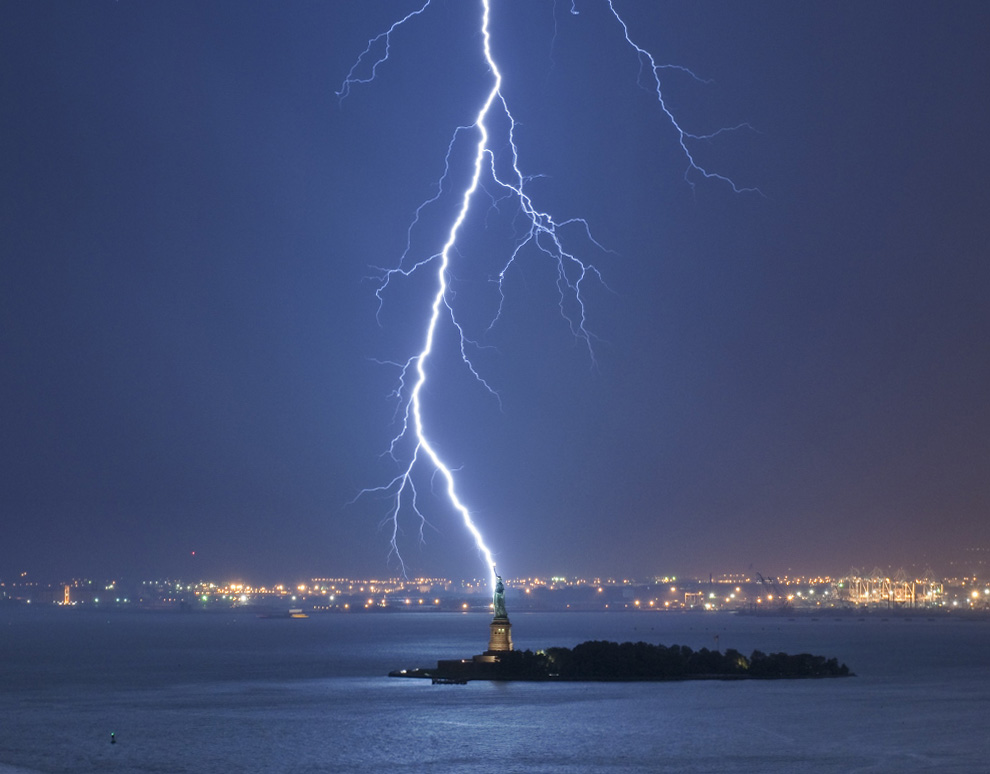
| New Inspiring HDR by Trey Ratcliff Posted: 29 Nov 2010 02:45 AM PST
As you may already know, Trey Ratcliff is a good friend of ours and is also the guy behind the amazing "HDR wonderland" Stuck in Customs. Trey is always publishing new and inspiring HDR at his website, and this is why we love to check out his news to keep you guys super up to date about what he is up to.So here is a selection with the latest photos from @TreyRatcliff... Enjoy. ;)
Check out the downloadable version of Trey Ratcliff's HDR Video Tutorial to learn more about this amazing technique. Want to read more about Trey Ratcliff? Try this:
|
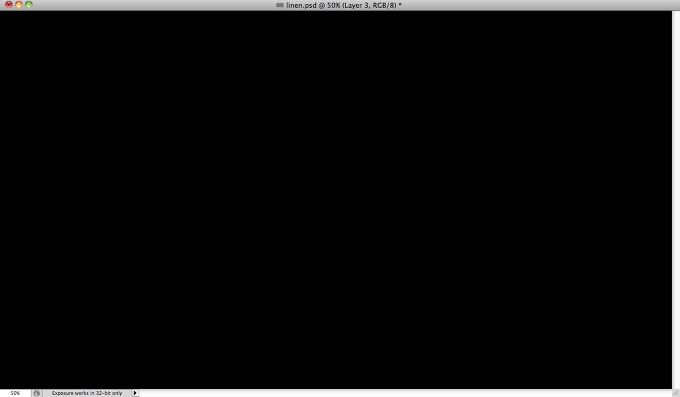
| Easy iOS Style Wallpaper in Photoshop Posted: 28 Nov 2010 06:00 PM PST
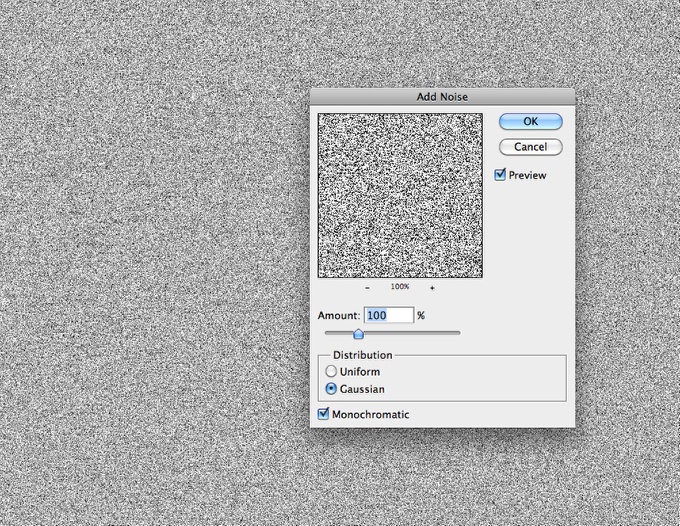
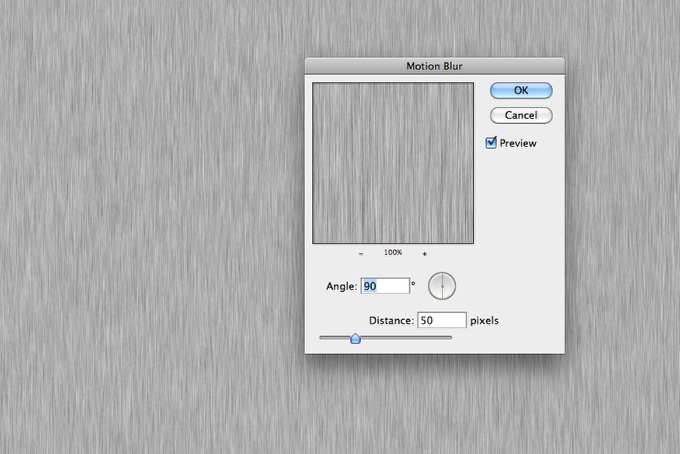
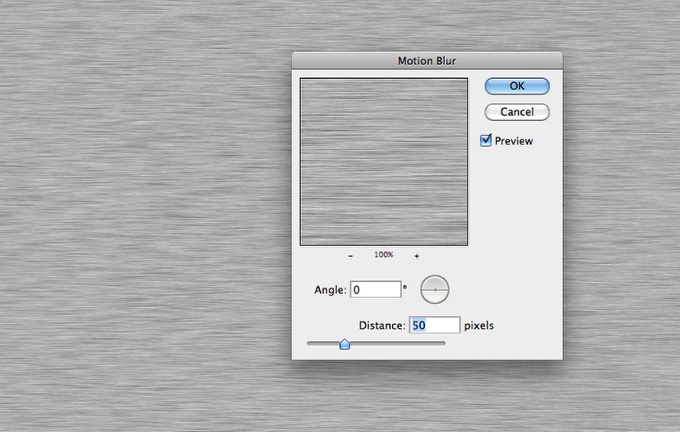
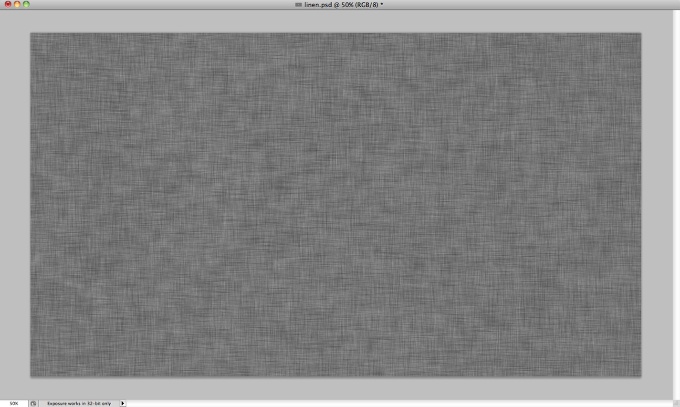
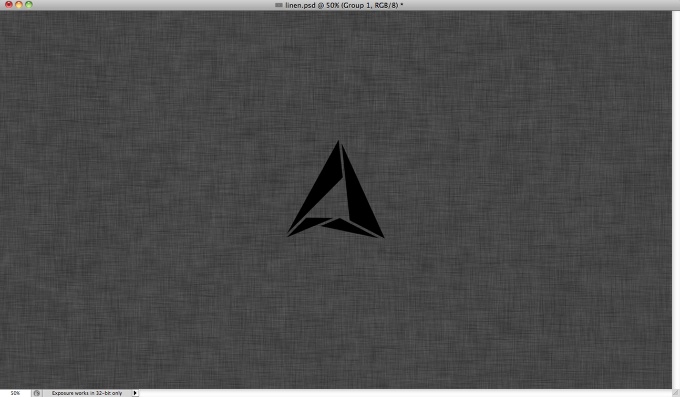
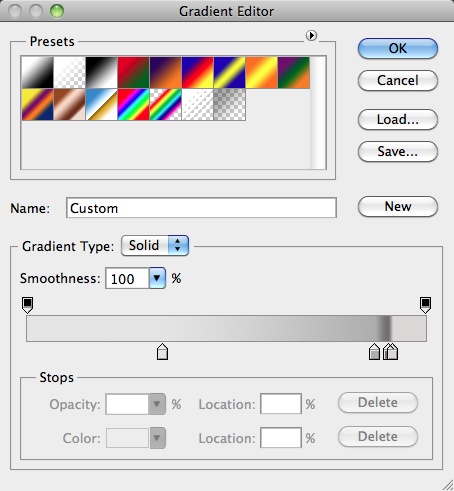
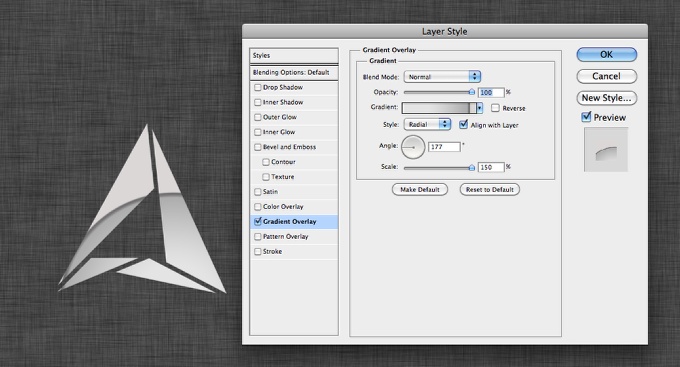
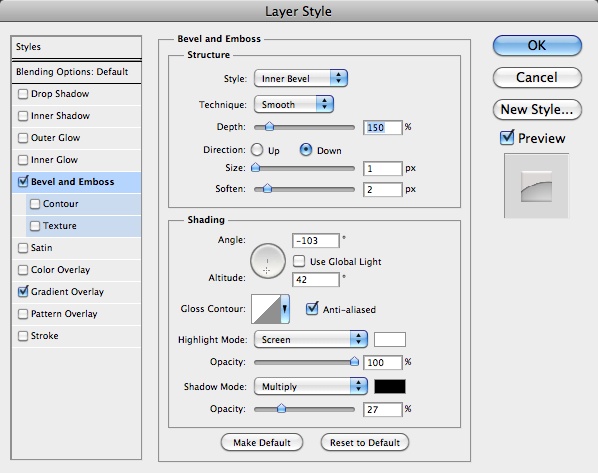
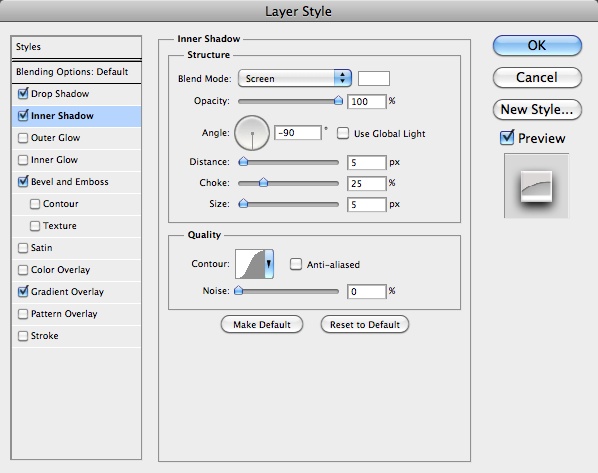
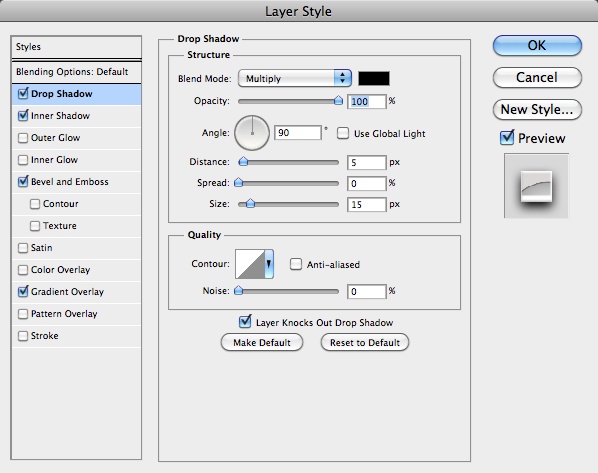
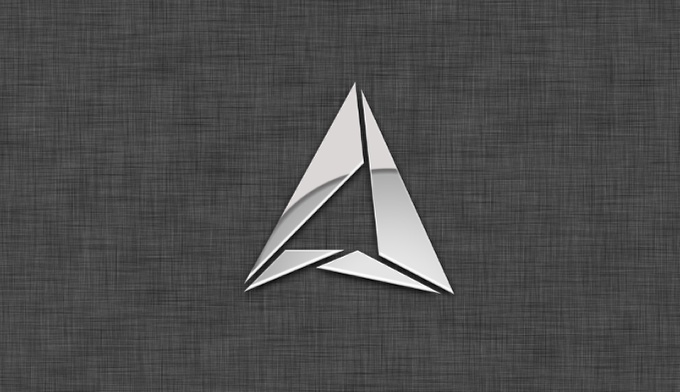
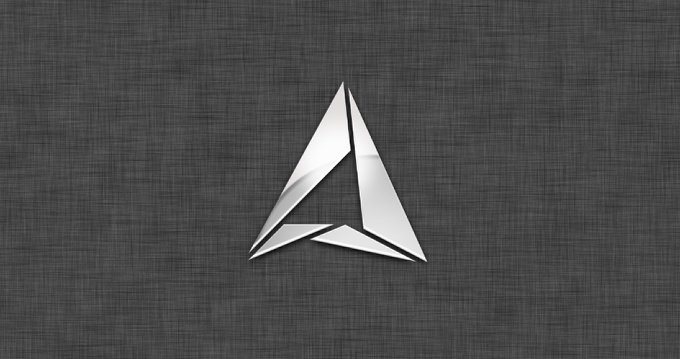
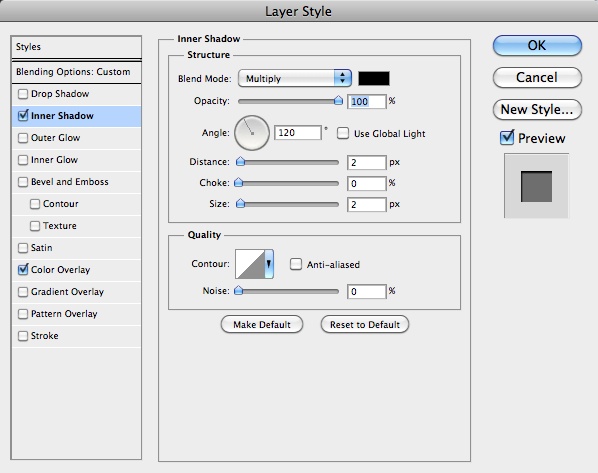
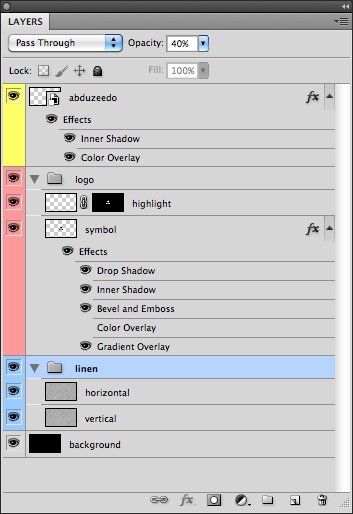
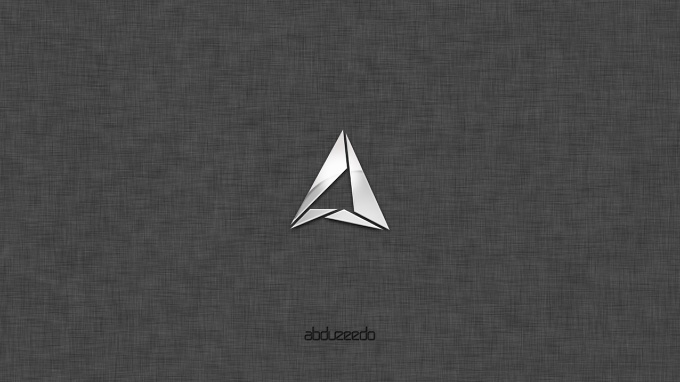
I have received quite a few emails asking me how to create that sort of linen texture effect we see in the iOS on iPads and iPhones. I like that effect but had never stopped to think about how I could do that in Photoshop, so last week I decided to give it a try. For my surprise it was much easier than I thought.So in this tutorial I will show you how to create the linen texture effect in Photoshop and also the metal/glass effect we see in the Apple logo in the iOS. Step 1Open Photoshop and create a new document. I'm using 2560x1440 pixels for the size. After that fill the background layer with black. Step 2Add a new layer and go fill it with white using the Paint Bucket Tool (G). After that make sure you have black and white for the background and foreground color, then go to Filter>Noise>Add Noise. Use 100% for the Amount, Gaussian for the Distribution and select Monochromatic. Duplicate this layer once. Step 3Select one of the layers with the noise filter and then go to Filter>Blur>Motion Blur. Use 90º for the Angle and 50 pixels for the Distance. Step 4Select the other layer with noise and go again to Filter>Blur>Motion Blur. Use 90º for the Angle and 50 pixels for the Distance. Step 5You will have to layers with the blurry effect, one will be with a vertical texture and another with horizontal. Select the one that is on the top and change the Blend Mode to Multiply. Group the 2 layers into a folder and then change the opacity to 40%. Because we applied the motion blur, the edges get a bit transparent so select both layers and go to Edit>Transform>Scale. Increase a little bit the size of the layers so you can hide those edges. Step 6Now import a symbol to use in your wallpaper. I'm using the Abduzeedo symbol. Place it in the middle of the document. Step 7Go to Layer>Layer Styles>Gradient Overlay. Click on the gradient colors to open the Gradient Editor. Then use a color scheme like the image below. Step 8Now back to the Gradient Overlay options, change the Style to Radial and increase the size to 150%. Then click on the symbol hold the button of the mouse and move it to move the gradient position. Use the image below for reference. Step 9Select Bevel and Emboss. Use Inner Bevel for the Style, 150% for the Depth, Down for the Direction, 1 pixel for the Size and 2 pixels for the Soften. For the Shading use 103º for the Angle, 40º for the Altitude. For the Highlight Mode use Screen with white at 100% Opacity, then for the Shadow Mode use Multiply with black at 30%. Step 10Select Inner Shadow. Use Screen for the Blend Mode with white for the color, -90º for the Angle, 5 pixels for the Distance, 25% for the Choke and 5 pixels for the Size. Step 11Now select Drop Shadow. Use Multiply for the Blend Mode with black for the color. For the Angle use 90º with 5 pixels for the Distance, 0 % for the Spread and 15 pixels for the Size. Step 12This is the effect you will have after these 12 steps. Step 13Add a new layer on top of the symbol. Select the symbol area by clicking with the right button of the mouse over the thumbnail of the layer, then select the option Select Pixels. After that go to Layer>Layer Mask>Reveal Selection. Then with the Brush Tool (B) with a very soft brush and white for the color, paint in the center of the symbol. Also change the Opacity to 40%. The idea of this step is to create a reflection in the metal effect. Step 14Now add a text, in my case I added the Abduzeedo logotype. Then go to Layer>Layer Styles. Use grey for the color with Multiply. Step 15Then select Inner Shadow. Use Multiply for the Blend Mode with black for the color. For the Angle use 120º, 2 pixels for the Distance, 0% for the Choke and 2 pixels for the Size. Layers Order ConclusionHere is the final outcome of the tutorial. The idea of this tutorial was show you how to create the line texture but I decided to add the logo with an Apple style effect in it. The whole process is very straightforward and if you want to use different colors for the linen texture you will have to change the background color or the opacity of the 2 layers with noise/motion blur, the ones we created in the steps 2 to Darker Version Download the Photoshop FileClick here to downlaod the Photoshop file used for this tutorial |


| You are subscribed to email updates from Abduzeedo | Graphic Design Inspiration and Photoshop Tutorials To stop receiving these emails, you may unsubscribe now. | Email delivery powered by Google |
| Google Inc., 20 West Kinzie, Chicago IL USA 60610 | |
Tidak ada komentar:
Posting Komentar